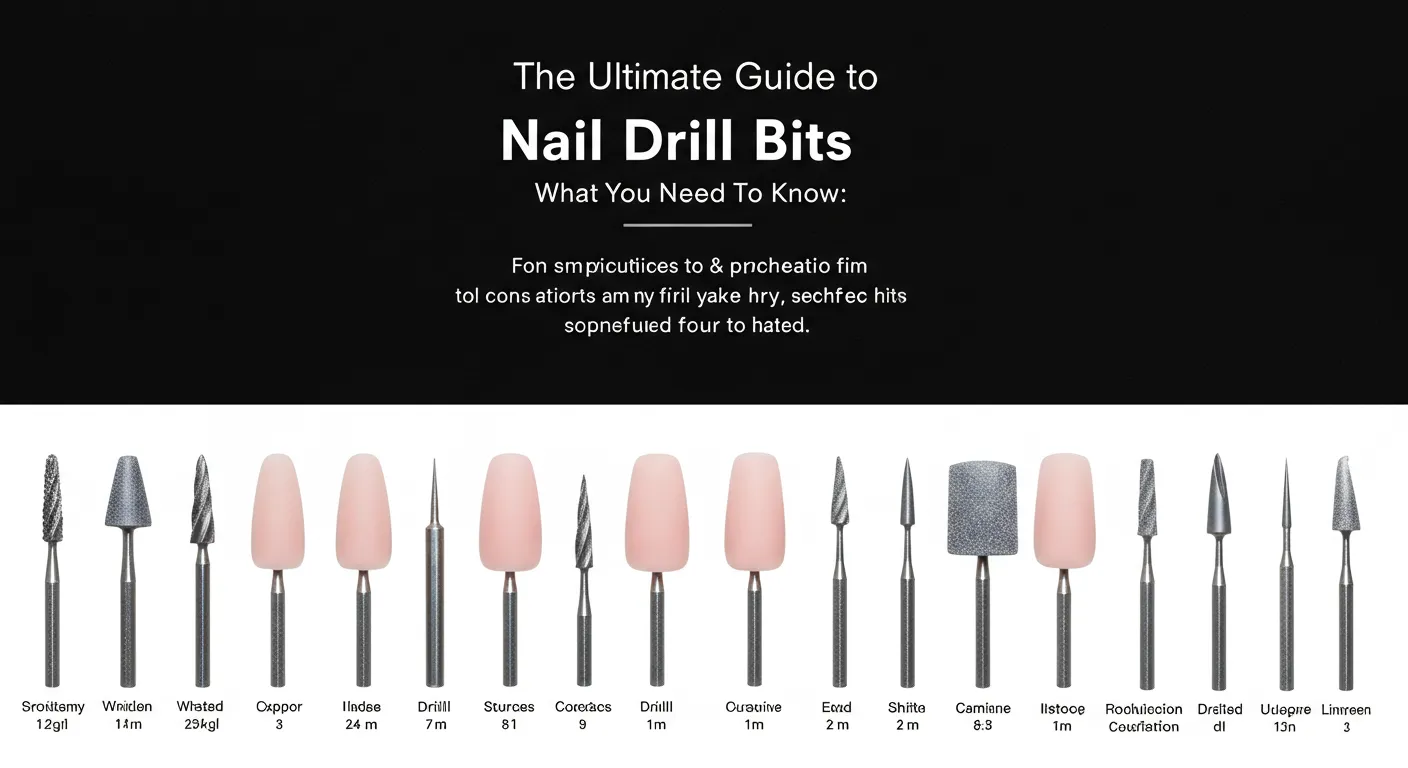
The Ultimate Guide to Nail Drill Bits: What You Need to Know
Table of Contents
Are you ready to take your nail artistry to the next level? Or perhaps you’re just starting out and feel overwhelmed by the world of professional nail tools? Either way, mastering the use of nail drill bits is a game-changer. This ultimate guide will demystify everything you need to know about these essential nail drill accessories, professional nail tools, nail care tools, from beginner basics to expert techniques.
What Are Nail Drill Bits?
Nail drill bits are small, rotating attachments used with an electric nail drill. They come in a wide variety of shapes and grits (coarseness), each designed for a specific purpose in nail preparation and artistry. From shaping natural nails and removing acrylics to refining manicures and creating intricate designs, these bits are indispensable tools for both professional nail technicians and enthusiastic DIYers. The grit of the bit determines its abrasiveness – lower grits remove more material faster, while higher grits are gentler for refining and polishing.
Beginner’s Guide to Nail Drill Bits
Starting with nail drill bits can seem daunting, but with the right approach, it’s incredibly rewarding. The key is starting slow and focusing on proper technique to avoid damage to the nail plate. Begin with a low-grit bit for shaping and gradually increase the grit as you refine the surface. Always maintain light pressure and keep the bit moving to prevent overheating and damage. Invest in a good quality drill with variable speed settings for better control. Avoid cheap drills, as they can be inconsistent and potentially dangerous.
A common misconception is that all nail drill bits are created equal. They vary greatly in terms of material (carbide, diamond, ceramic), shape, and grit. Understanding these differences is crucial for efficient and safe nail care.
Nail Prep Checklist Before Using Nail Drill Bits
Before you even think about turning on your drill, proper preparation is key! Here’s your essential checklist:
- 💅 Clean nails: Remove any existing polish and thoroughly cleanse the nail surface.
- 🧴 Cuticle oil: Apply cuticle oil to soften cuticles and hydrate the nail plate.
- 🧤 Gloves (optional): Protect your hands with gloves (especially if working with acrylic).
- 👓 Safety glasses: Protect your eyes from flying debris.
- 🌬️ Dust collector: A nail dust collector is crucial for maintaining a clean and healthy workspace and reducing inhalation of harmful dust.
How to Use Nail Drill Bits – Step-by-Step
Step 1: Choose the Right Bit
Select the appropriate bit for your task. A coarse bit (low grit) for initial shaping and a finer bit (high grit) for refinement and polishing.
Step 2: Adjust the Speed
Start with a low speed and gradually increase as needed. Never apply excessive pressure.
Step 3: Maintain Light Pressure
Gentle pressure is crucial to avoid damaging the natural nail. Let the bit do the work!
Step 4: Keep the Bit Moving
Avoid lingering in one spot to prevent overheating and burning the nail.
Step 5: Regular Cleaning
Clean your bits regularly to remove debris and maintain their effectiveness.
Best Practices & Expert Tips for Using Nail Drill Bits
- Invest in quality: High-quality nail drill bits last longer and provide better control.
- Practice makes perfect: Start on practice nails before working on your own or a client’s nails.
- Watch tutorials: Numerous online tutorials demonstrate proper techniques.
- Be patient: Mastering nail drill bits takes time and practice.
List of Essential Nail Drill Bits for Beginners
- Barrel Bit: Great for general shaping and smoothing.
- Cone Bit: Perfect for cuticle work and cleaning the corners of the nails.
- Flame Bit: Ideal for detailed work and achieving a smooth finish.
- Round Bit: Excellent for removing excess gel or acrylic.
FAQs About Nail Drill Bits
Q: How often should I replace my nail drill bits?
A: This depends on frequency of use and the type of bit. Dull bits are less effective and can damage nails, so replace them as needed.
Q: What grit should I use for removing acrylics?
A: Start with a lower grit (e.g., 30-80 grit) and gradually increase the grit as you approach the natural nail.
Q: How can I prevent overheating with my drill?
A: Use a low speed, maintain light pressure, and keep the bit moving constantly.
Q: Is it safe to use a nail drill at home?
A: Absolutely! With proper training and care, it’s perfectly safe. However, Always start slowly until you are comfortable with the tool.
Conclusion
Mastering nail drill bits unlocks a world of creative possibilities for your nail care. By following the tips and techniques outlined in this guide, you’ll soon be creating stunning manicures and pedicures with confidence. Remember, practice makes perfect, so don’t be discouraged if you don’t master everything overnight. Share your experiences and ask any questions you may have in the comments below! And don’t forget to pin this article for future reference!