Nail Forms: How to Perfect Your Acrylic Nails Every Time
Table of Contents
Introduction
Are you tired of uneven, lumpy acrylic nails? Do you dream of achieving that flawlessly sculpted, salon-worthy look from the comfort of your own home? Then mastering the art of using nail forms is your key to unlocking acrylic nail perfection. This comprehensive guide will walk you through everything you need to know, from beginner basics to expert techniques, ensuring your acrylic nails are always stunning.
What Are Nail Forms?
Nail forms are thin, pliable strips, typically made of plastic or paper, used as a guide for sculpting acrylic nails. They are placed under the natural nail, creating a template for the desired length and shape. By applying acrylic over the nail forms, nail technicians can build up a strong and beautifully shaped acrylic enhancement that complements the natural nail’s curve perfectly. This technique is immensely popular because it allows for precise control and consistency, avoiding the dreaded “bumps” or unevenness that can occur with freehand application.
Beginner’s Guide to Nail Forms
If you’re intimidated by the idea of using nail forms, don’t be! It’s a skill that can be learned with practice. The biggest misconception is that it requires advanced nail expertise —it doesn’t! Start with practicing on yourself or a friend, watching tutorials, and gradually gaining confidence with each application. The key is patience and attention to detail.
Nail Prep Checklist
Before you even think about touching a nail form, ensure your nails are perfectly prepared:
- 💅 Cleanse: Thoroughly clean your nails with a nail brush and cleanser to remove any oils or residue.
- 🧹 Shape: File your natural nails to a smooth, even surface. Consider a slightly shorter length for beginners.
- 🧴 Dehydrate: Apply a dehydrating agent to the nail plate. This promotes better adhesion for your acrylics.
- 💎 Prime: Using a quality nail primer, create a base layer on the nail plate.
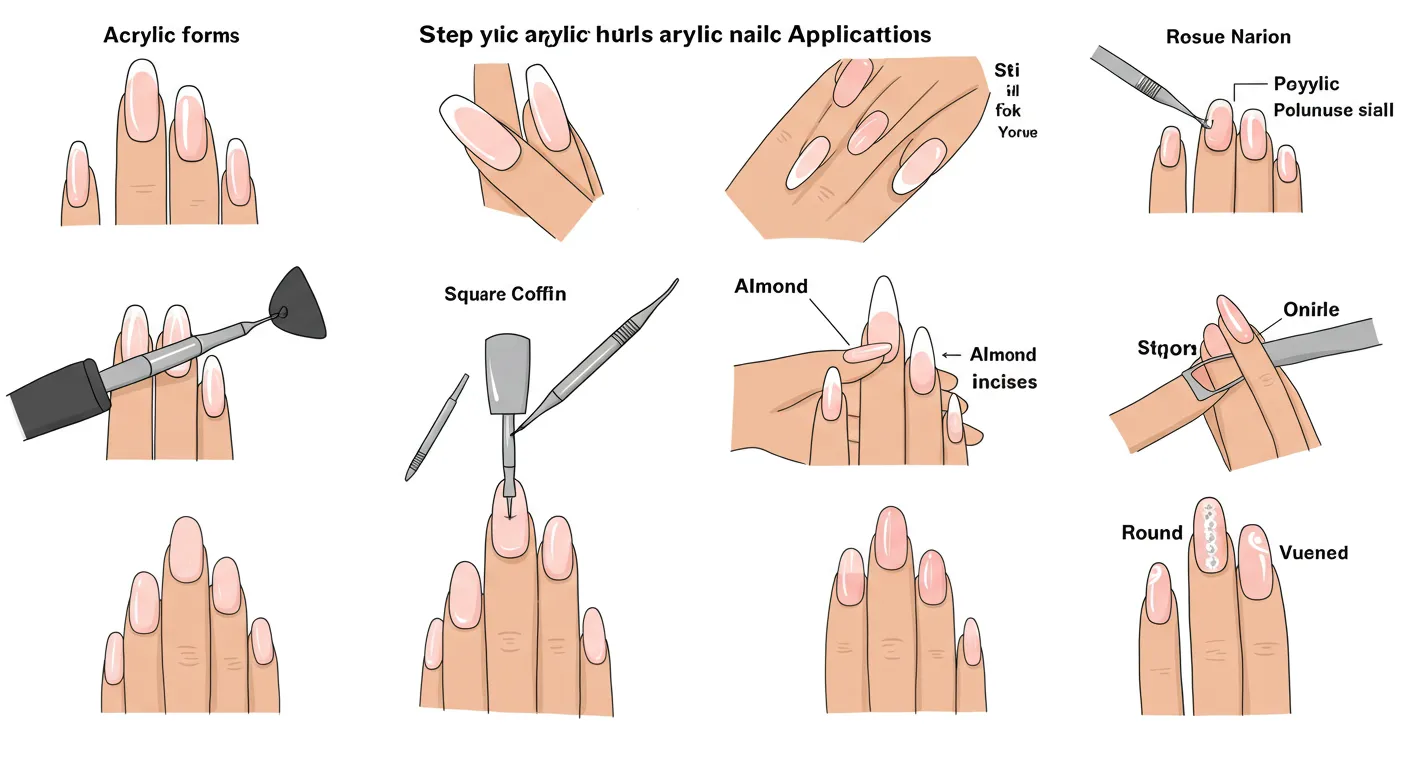
- 📏 Measure & Cut: Accurately measure and cut suitable nail forms for each nail. Don’t be afraid to experiment with shapes like: square, oval, almond, or stiletto which complements your nail structure
How to Apply Nail Forms – Step-by-Step
Step 1: Secure the Nail Form
Carefully place the nail form underneath the natural nail, ensuring it’s snug against the cuticle and aligned with the natural nail plate. Smooth out any air bubbles.
Step 2: Acrylic Application
Apply a small bead of acrylic monomer and polymer to the nail form, starting from the cuticle and working toward the free edge.
Step 3: Shaping and Sculpting
Use a sculpting tool to gently even out the acrylic, creating a smooth and even surface. Remember to follow the curve of your nail form!.
Step 4: Curing
Allow the nail acrylic to fully cure according to the manufacturer’s instructions which will vary from brand to brand.
Step 5: Removal of the Nail Form
Once the acrylic is fully cured, carefully remove the nail form, revealing your beautifully sculpted nail.
Step 6: Finishing Touches
File, buff, and shape your nails to achieve your desired look. Apply top coat for shine and protection.
Best Practices & Expert Tips
- Invest in Quality Products: Using high-quality nail forms, acrylic powder, and liquid is key to achieving a professional finish. Cheap products can lead to uneven application and shorter-lived results.
- Practice Makes Perfect: Don’t get discouraged if your first attempts aren’t flawless. Regular practice will improve your technique and speed. Consider using practice hands first.
- Proper Curing: Ensure your acrylic is fully cured before removing the nail forms. Incomplete curing can lead to weak nails and chipping.
- Avoid Over-Filing: Aggressive filing can thin out your nails, leaving them weak and prone to damage. Gentle, controlled filing is essential.
List of Essential acrylic nail forms, sculpting nails, nail shaping tools
Here is a short list of some of my favourite acrylic nail forms, sculpting nails, nail shaping tools you can use while perfecting your application technique:
- High-Quality Acrylic Powder and Liquid: Choose a reputable brand with a colour that suits your preference.
- Sculpting Brush: A good sculpting brush is essential for precise application and shaping.
- Nail Files (various grits): Essential for filing, shaping and refining the nail surface.
- Cuticle Pusher: To prepare neat clean cuticles for a professional finish.
FAQs About Nail Forms
Q: Can I reuse nail forms?
A: While technically possible, it’s not recommended. For hygiene and the best results, use a fresh nail form for each application.
Q: What type of nail forms is best for beginners?
A: Paper or plastic nail forms are great for beginners due to their flexibility and ease of use.
Q: How long does it take to apply nail forms and acrylics?
A: The time varies depending on skill level, but a full set can take anywhere from 1-2 hours, especially if this is your first time.
Q: How long do acrylic nails last when using nail forms?
A: With proper application and care, acrylic nails with nail forms can last around 2-4 weeks before needing a fill.
Q: What are some common mistakes to avoid when using nail forms?
A: Avoid creating air bubbles under the nail form, applying too much acrylic at once, and not properly curing the acrylic.
Conclusion
Mastering the use of nail forms opens up a world of possibilities for creating stunning, long-lasting acrylic nails. While it takes practice and patience, the results are well worth the effort. Remember to start with proper preparation, focus on technique, and don’t be afraid to experiment. So grab your supplies, follow these steps, and get ready to create salon-quality acrylic nails from home! What are your favourite nail form techniques? Share your tips and experiences in the comments below!