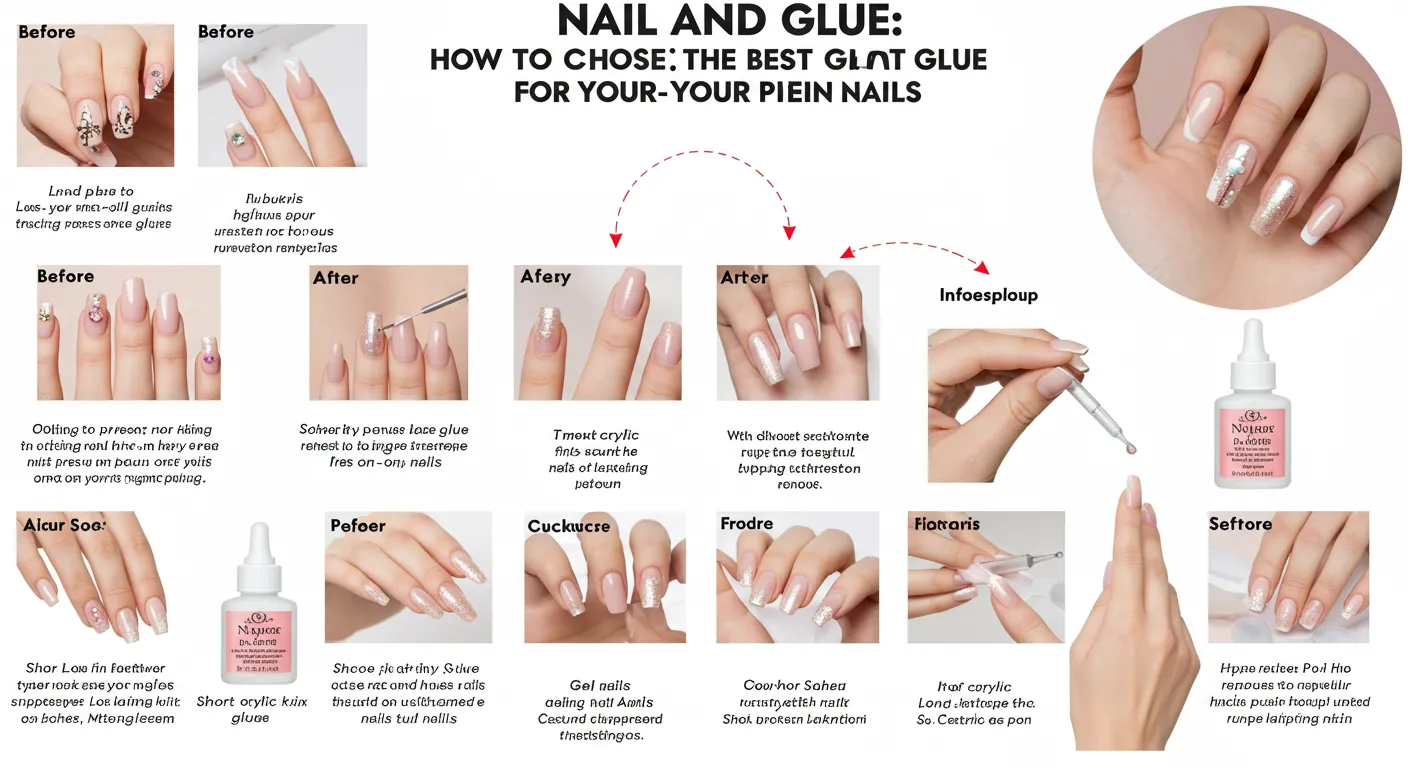
Nail and Glue: How to Choose the Best Glue for Your Press-On Nails
Table of Contents
Obsessed with the latest nail trends but intimidated by the process? Achieving salon-worthy results at home is easier than you think! Mastering the art of applying nail and glue is key to creating stunning, long-lasting press-on manicures. This comprehensive guide will walk you through everything you need to know about selecting the right adhesive and achieving a flawless finish.
What Is Nail and Glue?
Simply put, nail and glue refers to the adhesive used to attach artificial nails (like press-ons, tips, or full-coverage sets) to your natural nails. It’s the unsung hero of a perfect manicure, holding everything in place and ensuring a professional-looking finish. The effectiveness of your nail and glue directly impacts the longevity and overall appearance of your manicure. Choosing the right type is crucial for avoiding lifting, damage to your natural nails, and ensuring a comfortable wear experience.
Beginner’s Guide to Nail and Glue
For beginners, the world of nail and glue can seem daunting. But don’t worry! The key is to understand that not all glues are created equal. Some are designed for specific nail types (like acrylic or gel), while others are formulated for everyday use with press-on nails. Look for glues that are specifically marketed for press-on nails; these tend to be more forgiving and less harsh on natural nails.
A common misconception is that more glue equals a stronger hold. This is false! Using too much nail and glue can lead to messy application, increased risk of lifting, and difficulty in removal. Less is more when it comes to glue!
Nail Prep Checklist
Before you even think about nail and glue, proper nail preparation is paramount. This ensures a long-lasting, well-adhered manicure:
- 💅 Clean nails: Remove all old polish and gently push back cuticles.
- 🧼 Wash hands: Cleanse nails with soap and water to remove any oils or residue.
- 锉 File nails (optional): Lightly buff the surface of your natural nails for better adhesion.
- 🧴 Dehydrate nails (optional): Using a nail dehydrator can further improve adherence, especially for oily nails.
- 💡 Choose your nail and glue: Opt for a glue specifically designed for press-on nails.
How to Apply Nail and Glue – Step-by-Step
Step 1: Prepare the Nail
Ensure your nails are clean, dry, and free of any oils or lotions.
Step 2: Apply a Tiny Drop of Glue
Apply a very small drop of nail and glue to the center of the press-on nail.
Step 3: Press and Hold
Firmly press the press-on nail onto your natural nail, holding it in place for at least 10-15 seconds.
Step 4: Seal the Edges (Optional)
Use a small amount of glue to seal the edges of the press-on nail for extra security.
Step 5: Clean Up Excess Glue
Gently remove any excess glue with a cotton swab or makeup remover.
Best Practices & Expert Tips
- Don’t over-apply glue. A little goes a long way!
- Avoid getting glue on your skin. It can cause irritation.
- Always use a glue designed for artificial nails to prevent damage.
- For extra durability, consider using a nail primer before applying the nail and glue.
- If you’re a beginner, practice on a few nails first before doing a full manicure.
List of Top Nail Glues
(This section would list specific brands and types of nail glue with brief reviews. Remember to avoid affiliate links unless properly disclosed.)
FAQs About Nail and Glue
Q: How long does nail and glue last?
A: The lifespan of a manicure depends heavily on the quality of the nail and glue, the nail prep, and your activity level. Typically, you can expect a press-on manicure to last 1-3 weeks.
Q: Is nail glue harmful to your natural nails?
A: Using the wrong type of glue or improper application can damage your natural nails. Always opt for a glue formulated for press-on nails, and ensure proper removal to prevent damage.
Q: How do I remove press-on nails without damaging my natural ones?
A: Use a gentle nail remover solution to soften the nail and glue, then gently peel off the press-on nails.
Q: What should I do if my press-on nails lift or chip?
A: Use a small amount of nail and glue to re-attach any lifted areas. If the damage is severe, it’s best to remove the nail entirely and replace it.
Conclusion
Mastering the art of nail and glue opens up a world of nail design possibilities. By following these steps and tips, you can achieve flawless, long-lasting press-on manicures right at home. Remember, proper preparation and the right type of nail and glue are key to success. What are your favorite nail and glue brands? Share your tips and experiences in the comments below!
(Note: Remember to replace the bracketed information with actual brand names, product details, etc. and add images with appropriate alt text. The article should also be formatted with good headings, paragraphs, and white space for better readability.)


