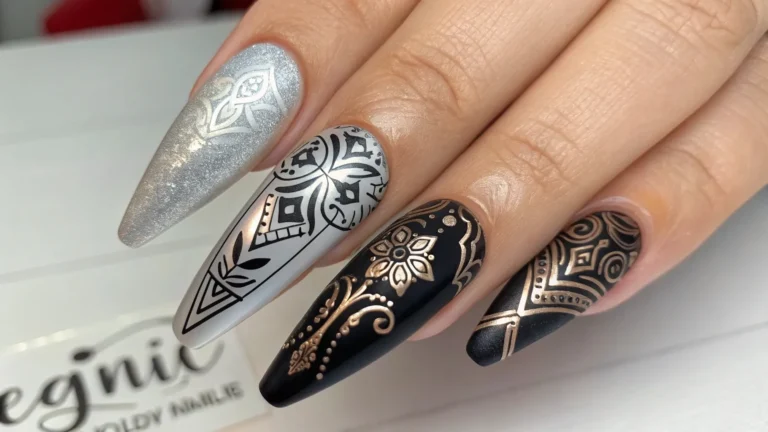
Fence Nails: A Creative Twist on Nail Art with Geometric Designs
Introduction
Are you tired of the same old nail art trends? Ready to ditch the floral prints and embrace something truly unique? Then get ready to explore the captivating world of fence nails! This innovative nail art style takes inspiration from the clean lines and geometric patterns of picket fences, creating strikingly modern and chic manicures. This detailed guide will take you through everything you need to know to master this unique nail designs, geometric nail art, fence-inspired nails trend.
What is Fence Nails?
Fence Nails are a type of geometric nail art that mimics the visual appeal of a fence. This involves using straight lines, often in contrasting colors, to create a structured, almost architectural look on your nails. Popular variations include creating the illusion of vertical or horizontal fence panels, using different widths of lines to represent pickets, or incorporating additional elements such as tiny nail studs to represent fence posts. This style appeals to those who prefer a clean, modern aesthetic with a touch of edgy creativity. The versatility of fence nails allows for endless customization, adapting effortlessly to various nail shapes, lengths, and color palettes.
Beginner’s Guide to Fence Nails
Creating stunning fence nails is easier than you might think! Even beginners can achieve professional-looking results with a few key tools and techniques. The key is precision and patience. Start by choosing two contrasting colors – a bold base color and a slightly lighter accent color are a great combination. Thin striping tape and fine detail brushes are your best friends here. Don’t be discouraged if your lines aren’t perfectly straight at first – practice makes perfect!
Nail Prep Checklist
Before diving into your fence nails design, ensure your nails are properly prepped:
- 💅 Cleanse your nails with nail polish remover to remove any existing polish.
- ✨ Gently buff your nails to create a smooth surface.
- 💧 Hydrate your cuticles with cuticle oil.
- ✅ Apply a base coat to protect your nails and enhance the longevity of your manicure.
How to Create Fence Nails – Step-by-Step
Step 1: Base Coat
Apply a thin layer of your chosen base coat color. Allow it to dry completely before moving to the next step.
Step 2: Creating the Fence Lines
Using striping tape, carefully create the fence lines on your nails. For vertical lines, apply the tape vertically, for horizontal, apply horizontally. Vary the spacing for a more realistic effect.
Step 3: Apply Accent Color
Apply your accent color carefully over the exposed portions of your nails (the areas not covered by the tape). Let it dry completely before carefully removing the tape.
Step 4: Top Coat
Apply a top coat to seal the design and add shine.
Best Practices & Expert Tips
- Use high-quality nail polishes for vibrant color and long-lasting results.
- For ultra-thin lines, consider using a detail brush instead of striping tape for even more precision.
- Experiment with different geometric patterns and shapes within the fence, such as diagonals, zig-zags, or even adding small “posts” with tiny dots or studs.
- Consider adding glitter or other embellishments for extra sparkle.
- Don’t be afraid to experiment with different color combinations to create a unique look.
List of Trending Nail Art Designs
Here are some other trending nail art designs that pair well with the fence nails aesthetic:
- Negative Space Manicures: These designs emphasize clean lines and empty spaces and can be combined with your fence nails for a truly minimalist feel.
- Geometric Ombre: Gradually blending different colors can add a cool, gradient look to the fence effect.
- Chrome Nails: The metallic sheen of chrome nails offers a modern, luxurious touch when incorporated into the fence nails design.
FAQs About Fence Nails
- Q: How long does it take to create fence nails? A: The time varies depending on your skill level and complexity of the design. Beginners might take 30-45 minutes, while experienced users could complete it in 15-20 minutes.
- Q: What kind of nail polish is best for fence nails? A: Gel polishes usually last longer, but regular nail polishes are easier to remove.
- Q: Can I use different colors for my fence design? A: Absolutely, experiment with creating interesting contrasts.
- Q: Do I need a special tool to achieve the fence nails look? A: Striping tape will be your best friend in creating clean lines, but you can try freehand design using fine detail brushes.
Conclusion
Fence nails offer a fresh, modern take on geometric nail art. With a little patience and practice, you can create stunning, eye-catching manicures. So, gather your supplies, choose your colors, and unleash your creativity. Don’t forget to share your amazing fence nails creations on social media using #Fencenails! What unique color combinations are you going to try? Let us know in the comments below!

