How to Choose the Best Gel Nail Glue for Long-Lasting Results
Table of Contents
Introduction: The Secret to Perfect, Long-Lasting Nails
Have you ever spent hours perfecting your nails only to have them pop off just days later? It’s frustrating, right? But here’s the good news: the key to a flawless, durable manicure lies in one essential product: gel nail glue. Choosing the right gel nail glue is the secret behind nails that last weeks, not just a few days. This guide will show you how to choose the best gel nail glue so you can enjoy beautiful, long-lasting nails that stay put no matter what life throws your way.
What Is Gel Nail Glue and Why Does It Matter?
The Basics of Gel Nail Glue
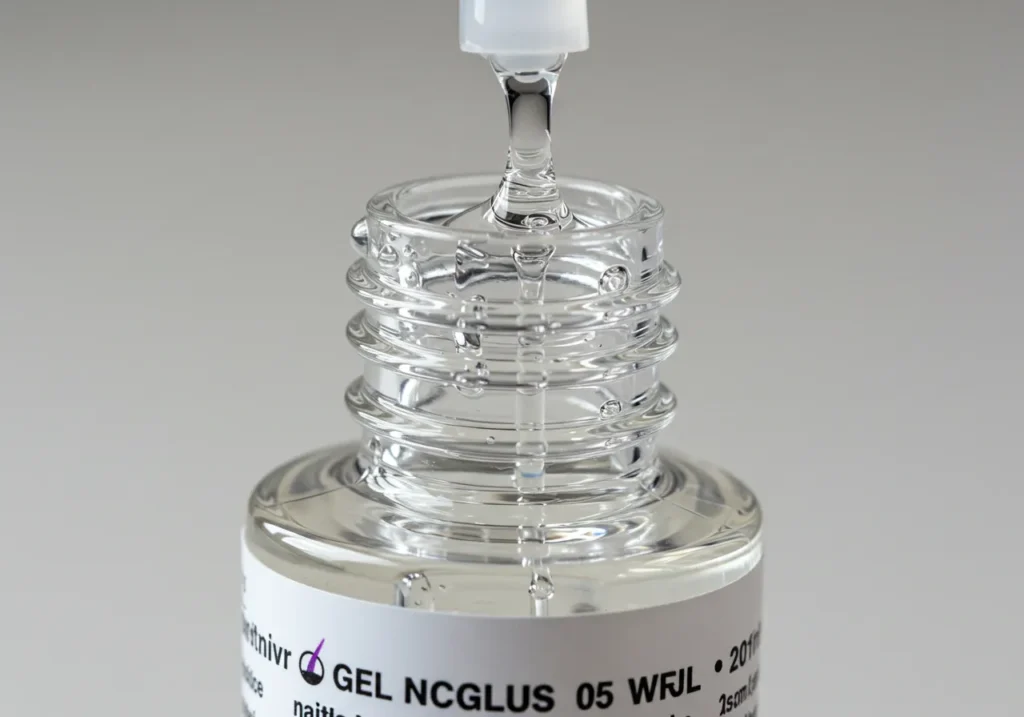
Gel nail glue is an adhesive designed specifically for bonding nail extensions, tips, or decorations to your natural nails. Unlike regular nail glue, gel nail glue uses a UV or LED light to cure, providing a stronger and more flexible bond. This unique feature is what helps your nails stay in place for weeks without lifting or cracking.
Benefits of Using Gel Nail Glue
- Long-Lasting Results
Gel nail glue offers a stronger hold than traditional nail adhesives, so your manicure can last for weeks, even with daily wear and tear. - Enhanced Durability for Active Lifestyles
If you’re always on the go, gel nail glue is a game changer. It’s perfect for those with busy hands—whether you’re typing, cooking, or exercising. - Prevents Lifting and Cracking
A high-quality gel glue keeps nails in place and prevents unwanted lifting, cracking, or breakage, ensuring your manicure looks fresh until it’s time to remove it.
Factors to Consider When Choosing Gel Nail Glue
1. Strength and Bond Durability
When choosing gel nail glue, always look for a product with a strong adhesive bond. Stronger glues tend to last longer and are less likely to lift, even with daily activities. Professional-grade formulas often offer superior strength, so if you’re after long-lasting results, this is a good place to start.
2. Drying or Curing Time
The drying time of the glue can make a significant difference in your application process. Quick-drying formulas are ideal for beginners who want a faster, easier experience. However, if you’re after extra durability and a professional finish, opt for UV or LED-curable glues, as they offer a much stronger bond once set.
3. Ingredients and Safety
Some nail glues contain harsh chemicals like formaldehyde that could irritate your skin or damage your nails. Look for hypoallergenic, skin-safe formulas to minimize any risk of irritation. If you have sensitive skin or allergies, always read the ingredients list before purchasing.
4. Ease of Application
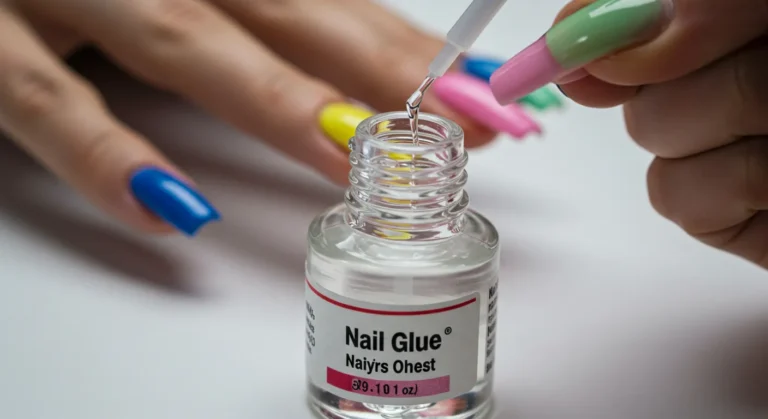
Gel nail glues come in various application formats, but the most common are brush-on and squeeze-tube options. If you want more precision, a brush-on applicator may be ideal, especially for detailed work like applying rhinestones or nail art. Choose a glue that makes the process simple and mess-free for your comfort.
5. Versatility
Some gel nail glues are formulated to work with various nail types, from acrylic nails to press-on nails, and can even double as an adhesive for rhinestones or other nail art. Make sure the glue you choose is compatible with your preferred nail types and intended use.
How to Test Gel Nail Glue Before Committing
Perform a Patch Test
Before committing to a full manicure, it’s crucial to check for any potential allergic reactions. Apply a small amount of glue on your nail or skin and wait for 24 hours to see if any irritation occurs.
Evaluate Longevity
Test the glue on one nail first to evaluate its staying power. Use it for a day or two to see how well it holds up under your normal daily activities. If it doesn’t lift or crack, it’s a good sign you’ve found the right glue.
Tips for Using Gel Nail Glue Effectively
Prepping Your Nails
Proper nail preparation is key to achieving long-lasting results. Start by cleaning and buffing your nails to remove oils and residue, which can interfere with the adhesion. For extra adhesion, you can also use a nail dehydrator or primer.
Applying the Glue
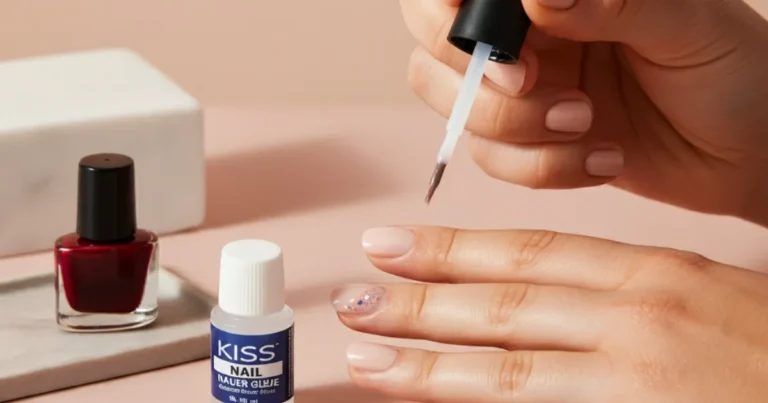
Less is more when applying gel nail glue. Use a small amount to avoid overflow, and make sure the glue is evenly distributed. Press your nails together firmly for about 10-15 seconds, ensuring a secure bond. If you’re using a UV or LED-curable glue, cure it under the light for the recommended amount of time.
Maintaining Your Nails
Once your nails are set, try to avoid submerging your hands in water for long periods, as this can weaken the glue. If you notice any lifting, quickly reapply glue to the edges to maintain a seamless look.
Pro Tip: Store your glue in a cool, dry place to prevent it from drying out prematurely.
FAQs About Gel Nail Glue
What is the strongest gel nail glue for extensions?
Look for gel glues with high adhesion ratings and UV-curable formulas. These are typically the strongest and will ensure your extensions stay securely in place.
Can gel nail glue damage natural nails?
When applied and removed correctly, gel nail glue should not damage your natural nails. Always follow the proper removal process and avoid peeling off glue to prevent any harm to your nail beds.
How long does gel nail glue typically last?
With proper application and care, gel nail glue can last anywhere from 2-3 weeks or longer. If you’re looking for a manicure that holds up, gel nail glue is the way to go.
What’s the best way to remove gel nail glue?
The safest method for removing gel nail glue is to soak your nails in acetone, which softens the adhesive. Once the glue starts to loosen, gently lift the extensions without forcing them.
Conclusion: Nail Your Perfect Look with the Right Glue
Choosing the right gel nail glue is the key to achieving that perfect, long-lasting manicure. By considering factors like strength, drying time, and safety, you’ll be able to select the best glue for your needs. Ready to give it a try? Your flawless, long-lasting nails are just a bottle away!
Actionable Summary
- Choose glue based on strength, safety, and drying time.
- Always prep your nails to ensure better adhesion.
- Test products for irritation before full application.
With these simple tips in mind, you’re all set to rock a stunning, long-lasting manicure every time!


