How to Use Kiss Nail Glue for Perfect Nails: 5 Essential Tips
Table of Contents
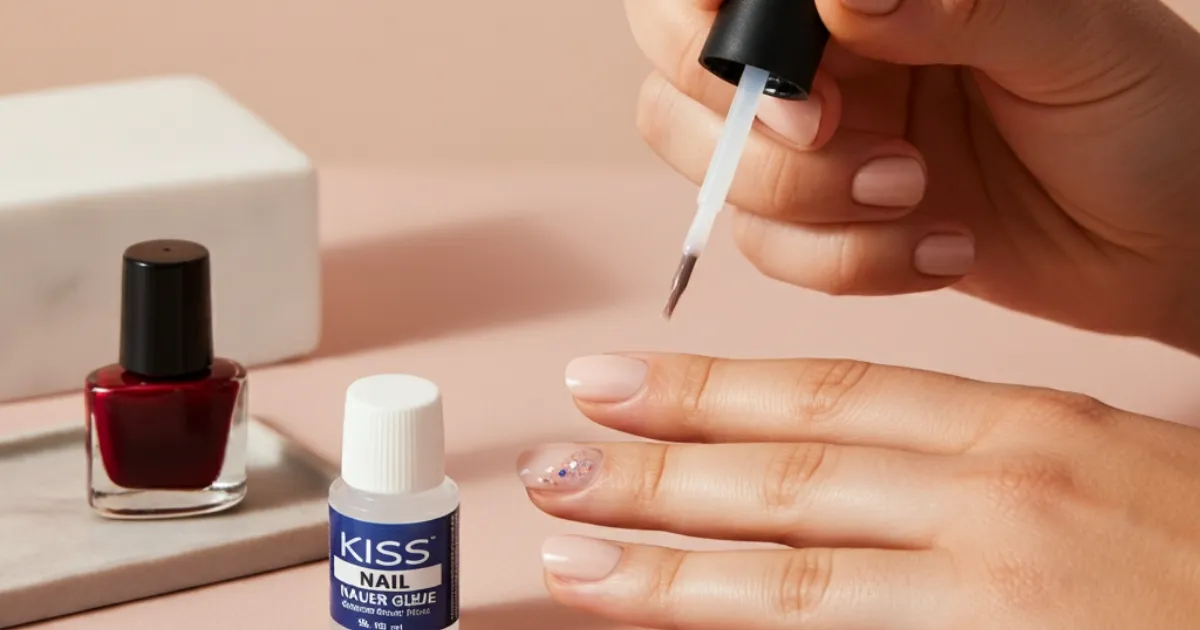
Getting salon-quality nails at home is now easier with Kiss nail glue. This guide will show you how to extend your natural nails or apply stunning faux nails. You’ll learn the key steps for a flawless, long-lasting manicure.
From preparing your nails to using Kiss PowerFlex technology, we’ve got you covered. You’ll discover how to get the most out of Kiss nail adhesives.
Key Takeaways
- Discover the different types of Kiss nail adhesives and their unique benefits
- Learn how to properly prepare your nails for the perfect application
- Understand the importance of Kiss PowerFlex technology for a strong bond
- Explore tips for using Kiss Pink Gel Nail Glue and Brush On Nail Glue
- Troubleshoot common issues and maintain your manicure for extended wear
Understanding Kiss Nail Glue and Its Benefits
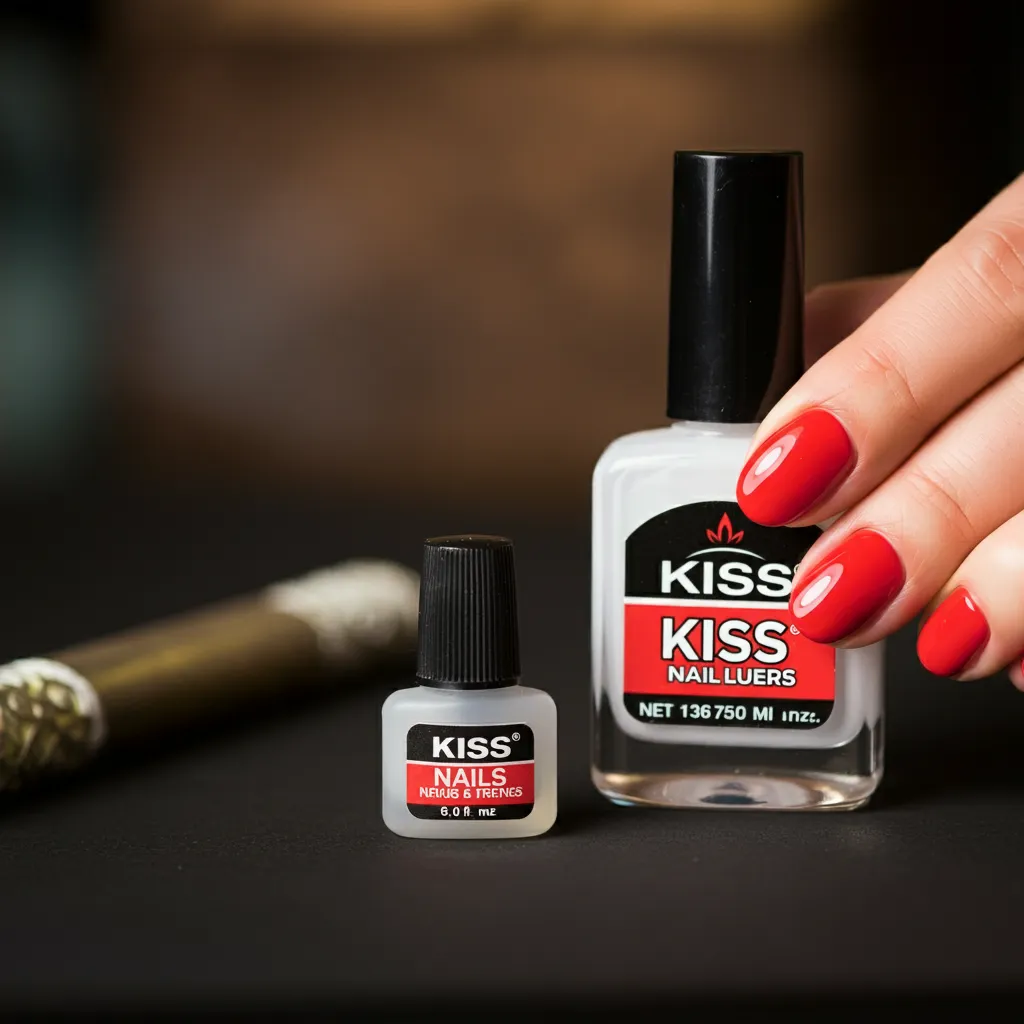
Getting a perfect manicure depends on the right nail glue. Kiss, a well-known brand, offers top-notch nail adhesives. They have everything from the Kiss PowerFlex Nail Glue to the Kiss Brush-On Nail Glue. This variety ensures you find the perfect glue for your nails.
Different Types of Kiss Nail Adhesives
Kiss knows that every nail is different. That’s why they have many nail adhesives. Let’s take a look at what they offer:
- Kiss PowerFlex Nail Glue: This glue is strong and flexible. It’s great for everyday use and feels comfortable.
- Kiss Brush-On Nail Glue: Perfect for precise application. It comes with a brush for easy use.
- Kiss Pink Gel Nail Glue: Great for a long-lasting gel manicure. It’s chip-resistant and can be cured with UV or LED light.
Why Choose Kiss Over Other Brands
Kiss is a top choice for nail care. They focus on quality and safety. Their glues are free from harmful chemicals like formaldehyde and toluene.
Safety Features and Quality Standards
Kiss glues are safe and reliable. They meet high standards and are tested for safety. With Kiss, you know you’re getting a good product that cares about your health.
Essential Tools and Materials Needed for Application
To apply Kiss nail glue well, you need the right tools and materials. These help from preparing your nails to making the bond last long. Here are the key nail glue application tools, manicure supplies, and Kiss nail accessories you’ll need for a perfect application.
Nail Prep Tools
- Nail file or buffer block to shape and smooth your natural nails
- Cuticle pusher or nipper to gently remove excess cuticles
- Alcohol wipes or cotton pads to thoroughly clean and dehydrate the nail bed
Glue Application Essentials
- Quality nail glue, such as the Kiss PowerFlex technology for maximum hold
- Precise applicator tip or brush for controlled glue placement
- Tweezers or nail clamps to securely position and press your artificial nails
- Tissue or paper towels to clean up any excess glue
| Tool/Material | Purpose | Recommended Features |
|---|---|---|
| Nail File | Shape and smooth natural nails | Fine-grit, 180-240 grit |
| Cuticle Pusher | Gently remove excess cuticles | Stainless steel, double-sided |
| Alcohol Wipes | Clean and dehydrate nail bed | Pre-moistened, 70% isopropyl alcohol |
| Tweezers | Position and secure artificial nails | Slanted tip, stainless steel |
Having these nail glue application tools, manicure supplies, and Kiss nail accessories ready will make your application smooth and professional. Keep your tools organized for flawless nail transformations with Kiss.
Proper Nail Preparation Techniques
Getting your nails ready for Kiss Nail Glue is key for lasting, professional results. Follow these steps for the best adhesion and finish.
Cleaning and Sanitizing Your Natural Nails
Start by cleaning and sanitizing your nails. Use a gentle cleanser or rubbing alcohol to remove oils and impurities. Make sure your nails are dry before moving on.
Buffing and Shaping Requirements
- Buff your nails with a high-quality file or buffer for a smooth surface.
- Shape your nails to your liking, keeping them balanced and even.
- Remove loose cuticles or hangnails carefully to avoid skin damage.
Moisture Control Tips
- Don’t apply lotions or oils before applying glue, as they can affect adhesion.
- If your nails are dry, apply cuticle oil the night before to absorb fully before prep.
| Nail Preparation Technique | Purpose |
|---|---|
| Cleaning and Sanitizing | Remove impurities and oils for optimal adhesion |
| Buffing and Shaping | Create a smooth, even surface for application |
| Moisture Control | Ensure proper adhesion by managing nail hydration |
By following these nail prep steps, you’re ready for a successful Kiss Nail Glue application. Proper prep leads to a flawless, professional manicure.
How to Apply Kiss Nail Glue Correctly
Getting kiss nail glue right is key for a strong bond between your natural nails and fake tips. Use these expert tips for a top-notch application every time.
Start by cleaning, shaping, and drying your nails well. This is vital for a strong bond. After prepping, you’re ready to apply the glue.
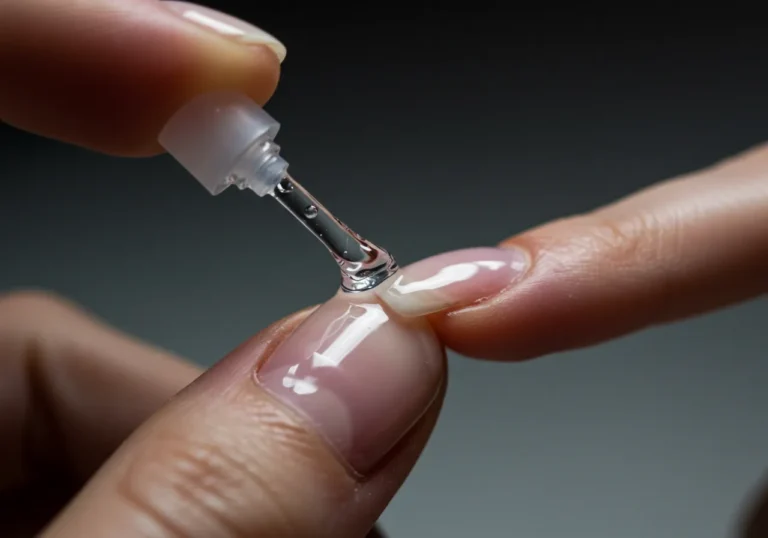
- Put a small, even amount of kiss nail glue in the middle of your natural nail, but not on the sides.
- Press the fake nail tip onto your natural nail, making sure it’s aligned. Press hard for 30 seconds for a strong bond.
- Let the nail adhesive dry for 2-5 minutes as recommended. This is key for a lasting hold.
- Do the same for each nail, one at a time. This ensures they’re aligned and stick well.
- Finally, apply a good glue-on nails topcoat to seal and protect the bond.
By using these nail adhesive techniques, you’ll get a flawless look and enjoy your kiss nail glue for a long time.
“The secret to perfect kiss nail glue is in the prep and details. Take your time and follow these steps for a salon-quality finish.”
Maximizing Bond Strength with Kiss PowerFlex Technology
Getting long-lasting, secure nail enhancements starts with strong adhesive. Kiss nail glue’s PowerFlex technology is made for this. It works well even in tough conditions.
Temperature and Humidity Considerations
The kiss powerflex nail glue works best in certain conditions. It needs a stable temperature and low humidity to stick well. This means using it in a room with controlled climate, away from extreme weather.
Curing Time Guidelines
How long you let the glue cure is key. Always follow the instructions for the right curing nail glue time. This lets the glue bond strongly with your nails, preventing them from coming loose too soon.
- Let the glue cure for 1-2 minutes as suggested.
- Don’t touch or press on the nails while it’s curing.
- Make sure the nails are dry and free of oils before applying the glue.
Knowing about the right conditions and curing time helps you get the most out of Kiss PowerFlex nail glue. You’ll enjoy nail enhancements that last longer and stay secure.
Tips for Using Kiss Pink Gel Nail Glue
The kiss pink gel nail glue can change your manicure game. It creates a strong bond between your nails and gel tips. This makes your nails look seamless and professional. Here are some tips to get the most out of this product:
Start by preparing your nails. Make sure they’re clean, dry, and free of oils. A quick buff and light filing will help the pink nail glue tips stick better.
When you apply the kiss pink gel nail glue, use a small amount. Too much can cause mess. Apply it in a thin layer over your entire nail.
- Apply the gel nail adhesive in a thin, even layer.
- Gently press the gel nail tip into place, holding it firmly for 30 seconds to ensure a secure bond.
- Allow the pink nail glue tips to fully cure according to the manufacturer’s instructions, typically around 2-3 minutes.
- Finish with a top coat to seal in the adhesive and enhance the shine of your manicure.
By following these tips and using kiss pink gel nail glue, you can get salon-quality nails at home. Enjoy your long-lasting, flawless gel nail look.
Mastering Kiss Brush On Nail Glue Application
Getting a perfect manicure with Kiss Brush On nail glue needs skill and focus. By learning how to apply it right and avoiding common errors, you can get a finish that lasts. It will look professional every time.
Precision Application Methods
To apply Kiss Brush On nail glue well, start by shaking the bottle to mix it. Then, put a small amount of the kiss brush on nail glue on the applicator brush. Make sure not to use too much.
Spread the glue evenly over your natural nail, starting at the cuticle and moving towards the tip. Use thin, even strokes. This helps avoid nail glue mistakes and ensures a strong bond.
Common Application Mistakes to Avoid
- Using too much kiss brush on nail glue can cause mess and spills.
- Not cleaning and prepping the nail before can weaken the bond.
- Applying too fast can lead to uneven coverage.
- Touching the nail before the glue is dry can ruin the bond.
By following these tips and avoiding common nail glue mistakes, you’ll get better at using kiss brush on nail glue. You’ll have a flawless, long-lasting manicure.
Troubleshooting Common Kiss Nail Glue Issues
Using Kiss nail glue can make your manicure look amazing. But, you might run into some problems. Don’t worry, we have the fixes for these nail glue problems and adhesive troubleshooting issues. With a few easy tips, you’ll get flawless, long-lasting Kiss nail glue results.
One big issue is when the glue doesn’t stick well. This might be because you didn’t prepare your nails right or applied the glue wrong. Always follow the Kiss nail glue instructions and watch the curing time. Also, temperature and humidity can affect the glue’s strength, so adjust your method as needed.
Another problem is air bubbles under the nail. This can happen if you apply the glue unevenly or press too hard. To avoid this, apply the nail gently and make sure the Kiss nail glue covers the surface evenly.
Lastly, some people find the glue too thick or sticky over time. This might be because it was stored wrong or exposed to air. To fix this, add a few drops of the Kiss nail glue primer to get the right consistency.
By tackling these nail glue problems and adhesive troubleshooting tips, you’ll get amazing results with your Kiss nail glue. Remember, a bit of prep and attention to detail can make your manicure perfect.
Maintenance and Longevity Tips
To keep your glued-on nails looking great, you need to take care of them. A simple weekly care routine and knowing when to reapply nail glue can make your manicure last longer.
Weekly Care Routine
Here’s how to keep your nails in top shape:
- Wash your nails gently with mild soap and water. Avoid scrubbing too hard, as it can lift the edges.
- Put a thin layer of nail glue maintenance on the tips and edges. This strengthens the bond.
- Lightly buff your nails to remove any residue or discoloration. This keeps them looking new.
- Moisturize your nails and cuticles with oil or cream. This prevents dryness and keeps your long-lasting nails healthy.
Signs It’s Time to Reapply
Even with good care, you’ll need to reapply nail adhesive eventually. Watch for these signs:
- Lifting or peeling at the edges or tips of your nails
- Visible gaps or spaces between your natural nail and the glued-on extension
- Decreased adhesion or overall hold of the reapplying nail adhesive
- Visible wear and tear, such as chipping or cracking
By sticking to a regular maintenance routine and watching for these signs, you can enjoy your long-lasting nails for weeks.
Safe Removal Procedures and Aftercare
Removing Kiss nail glue, like Kiss Maximum Speed Nail Glue, needs care to avoid harming your natural nails. Start by soaking your nails in warm, soapy water for 10-15 minutes. This softens the glue. Then, gently peel off the fake nails, avoiding to pull too hard.
After taking off the glue, nail care is key. Lightly buff your nails to get rid of any leftover glue. Apply a nourishing nail oil or cuticle cream to keep your nails hydrated and strong. Stay away from harsh chemicals and don’t pick at your nails. This can cause more harm.
By following these steps and taking good care of your nails, they will stay healthy even with regular use of Kiss nail glue. Always put your nails first for a perfect manicure every time.
FAQ
What are the different types of Kiss nail adhesives available?
Kiss offers several nail adhesive options. These include PowerFlex Nail Glue, Pink Gel Nail Glue, Brush On Nail Glue, and Maximum Speed Nail Glue.
Why should I choose Kiss nail glue over other brands?
Kiss nail glue is known for its safety and quality. It uses advanced formulas like PowerFlex for a strong bond. It also meets high safety standards, making it great for at-home manicures.
What tools and materials do I need to apply Kiss nail glue?
You’ll need nail files, cuticle pushers, cotton pads, and acetone-based remover. A good nail primer or dehydrator can also help.
How do I properly prepare my nails for applying Kiss nail glue?
Clean and sanitize your nails first. Then, gently buff and shape them. Make sure they’re dry before applying the glue.
Can you provide step-by-step instructions for applying Kiss nail glue correctly?
Yes. Apply a thin layer of glue to your nails. Place the tips carefully and hold for 30 seconds. Don’t pull on the nails during this time.
How can I maximize the bond strength of Kiss PowerFlex nail glue?
Use a room temperature of 70-80°F and low humidity. Follow the curing time for a strong bond.
What are the best tips for using Kiss Pink Gel Nail Glue?
Apply a thin layer to both the natural nail and the tip. This creates a strong bond and smooth finish. Be careful with the curing time and avoid moving the nails too much.
How can I apply Kiss Brush On Nail Glue with precision?
Use the brush to apply a thin layer to the natural nail. Avoid getting glue on skin or cuticles. Use gentle strokes for best results.
How can I troubleshoot common issues with Kiss nail glue?
If you have problems like poor adhesion or bubbling, check your preparation and application. Consider temperature and humidity. If issues persist, seek help from the manufacturer or a professional.
How can I maintain my glued-on nails and extend their lifespan?
Keep a weekly care routine. This includes filing edges, applying top coat, and avoiding activities that harm the bond. Watch for signs like lifting or loosening nails.
What is the proper way to remove Kiss nail glue and what aftercare should I follow?
Use acetone-based remover to remove the glue. Follow the instructions carefully. Avoid peeling or pulling off the nails. Moisturize and condition your nails after removal.

