Icon Nails: How to Achieve Celebrity-Approved Nail Designs
Introduction
Are you tired of boring nails? Do you dream of having those stunning, show-stopping celebrity nails you see on Instagram and the red carpet? Then get ready to learn all about achieving your own icon nails! This comprehensive guide will walk you through everything you need to know to create sensational, trendsetting designs that are worthy of the spotlight. Whether you’re a beginner or a seasoned nail artist, we’ve got tips and tricks to elevate your nail game and achieve those coveted iconic nail art looks.
What Are Icon Nails?
Icon nails represent the pinnacle of nail artistry. They’re not just trendy – they’re iconic. These designs transcend fleeting fashion trends, becoming instantly recognizable and often imitated. Think of the classic French manicure, or the bold, geometric designs sported by A-list celebrities – these are prime examples of icon nails. They’re characterized by their high level of skill, creative application, and lasting impact on nail art culture. They often incorporate innovative techniques, high-quality products, and a keen eye for detail, resulting in a polished and sophisticated look. The designs themselves can range from minimalist elegance to bold and extravagant statements, depending on the desired effect and personal style. Essentially, icon nails are those nail designs that stand the test of time and continue to inspire and elevate the world of nail art.
Beginner’s Guide to Icon Nails
Creating icon nails may seem intimidating, but it’s more accessible than you think! Start by focusing on mastering the fundamentals. A clean, well-shaped nail is the foundation of any great design. Practice your filing technique to achieve your desired nail shape. Experiment with different base coats and colors to find your perfect match. Don’t be afraid to start with simpler designs and gradually build your skills. There are countless tutorials available online, and practicing consistently is key. Remember, even the most experienced nail artists started somewhere! Consider investing in good quality tools – a good base coat, top coat, and a selection of brushes will make a big difference.
Nail Prep Checklist
Before diving into creating your icon nails, proper nail prep is essential:
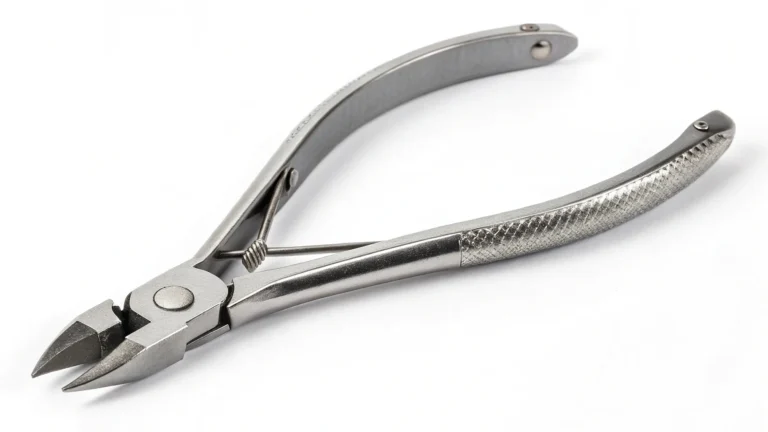
- 💅 Push back or trim your cuticles.
- ✨ Gently buff the nail surface for better adhesion.
- 💧 Apply a base coat. This protects your nails and prevents staining.
- 🎨 Choose your favorite color(s).
- 🖌️ Gather your tools: brushes, dotting tools, striping tape (optional).
How to Create Stunning Icon Nail Designs – Step-by-Step
Here’s a simple yet elegant design perfect for beginners.
Step 1: Prep Your Nails
Follow the nail prep checklist above for a flawless base.
Step 2: Apply Base Coat
Choose a neutral base color (like a nude or light pink) and apply two thin coats, allowing each to dry completely.
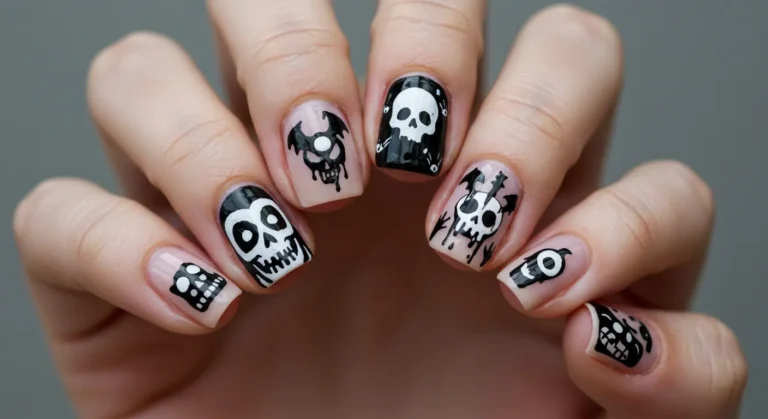
Step 3: Create Accent Nails
On one or two accent nails, create simple geometric designs using striping tape or a fine brush. Try thin stripes, simple dots, or a minimalist negative space design.
Step 4: Apply Top Coat
Finish with a high-shine top coat for long-lasting shine and protection.
Pro Tip:
For a more advanced look, try incorporating glitter, rhinestones, or intricate detailing using nail art brushes and specialized polishes.
Best Practices & Expert Tips
- Invest in quality tools: Good brushes, polishes, and a UV lamp (if using gel polish) are crucial for achieving professional results.
- Practice makes perfect: Don’t be discouraged if your first attempts aren’t perfect. Keep practicing and experimenting with different techniques.
- Use thin coats: This prevents smudging and ensures your polish dries evenly.
- Clean up messes immediately: Use a small brush dipped in acetone to remove any stray polish.
- Patience is key: Allow adequate drying time between coats.
List of Trending Nail Trends for 2024
- Chrome Nails: Mirror-like shine and futuristic vibe.
- Abstract Art: Free-flowing, expressive designs.
- Minimalist Manicures: Clean, sophisticated lines and shapes.
- 3D Nail Art: Sculptural designs with added dimension.
- Ombre Nails: A seamless blend of colors.
FAQs About Icon Nails
Q: How long do icon nails last?
A: It depends on the type of polish used and how well you care for your nails. Regular polish can last a week, while gel polish can last up to two weeks.
Q: Are nail salons the only place to get icon nails?
A: No, with practice and the right tools, you can create stunning icon nails at home.
Q: How can I keep my icon nails looking their best?
A: Use a good quality top coat, apply cuticle oil regularly, and avoid harsh chemicals.
Q: What are some affordable ways to achieve icon nails?
A: Start with simpler designs using readily available polishes and tools. Gradually invest in higher-quality products as your skills improve.
Q: What are some popular nail trends currently?
A: Currently, minimalist designs, chrome effects, and abstract art are some of the most popular nail trends.
Conclusion
Creating breathtaking icon nails is within your reach! By mastering the fundamentals, investing in high-quality tools, and practicing regularly, you’ll soon be creating stunning designs that turn heads. So, pick up your brushes, unleash your creativity, and get ready to showcase your own unique style. Don’t forget to share your icon nails creations with us on social media. Happy painting!