Kupa Nail Drills: Why They’re Essential for Perfecting Your Manicure
Table of Contents
Introduction
Are you tired of uneven nail surfaces, struggling with intricate nail art, or spending hours achieving the perfect manicure? The secret to achieving salon-quality results at home (or elevating your professional services) might lie in one powerful tool: the kupa nail drill. This versatile tool is revolutionizing the nail industry, offering precision and efficiency unmatched by traditional methods. In this comprehensive guide, we’ll explore why a kupa nail drill is an essential addition to any nail enthusiast’s kit.
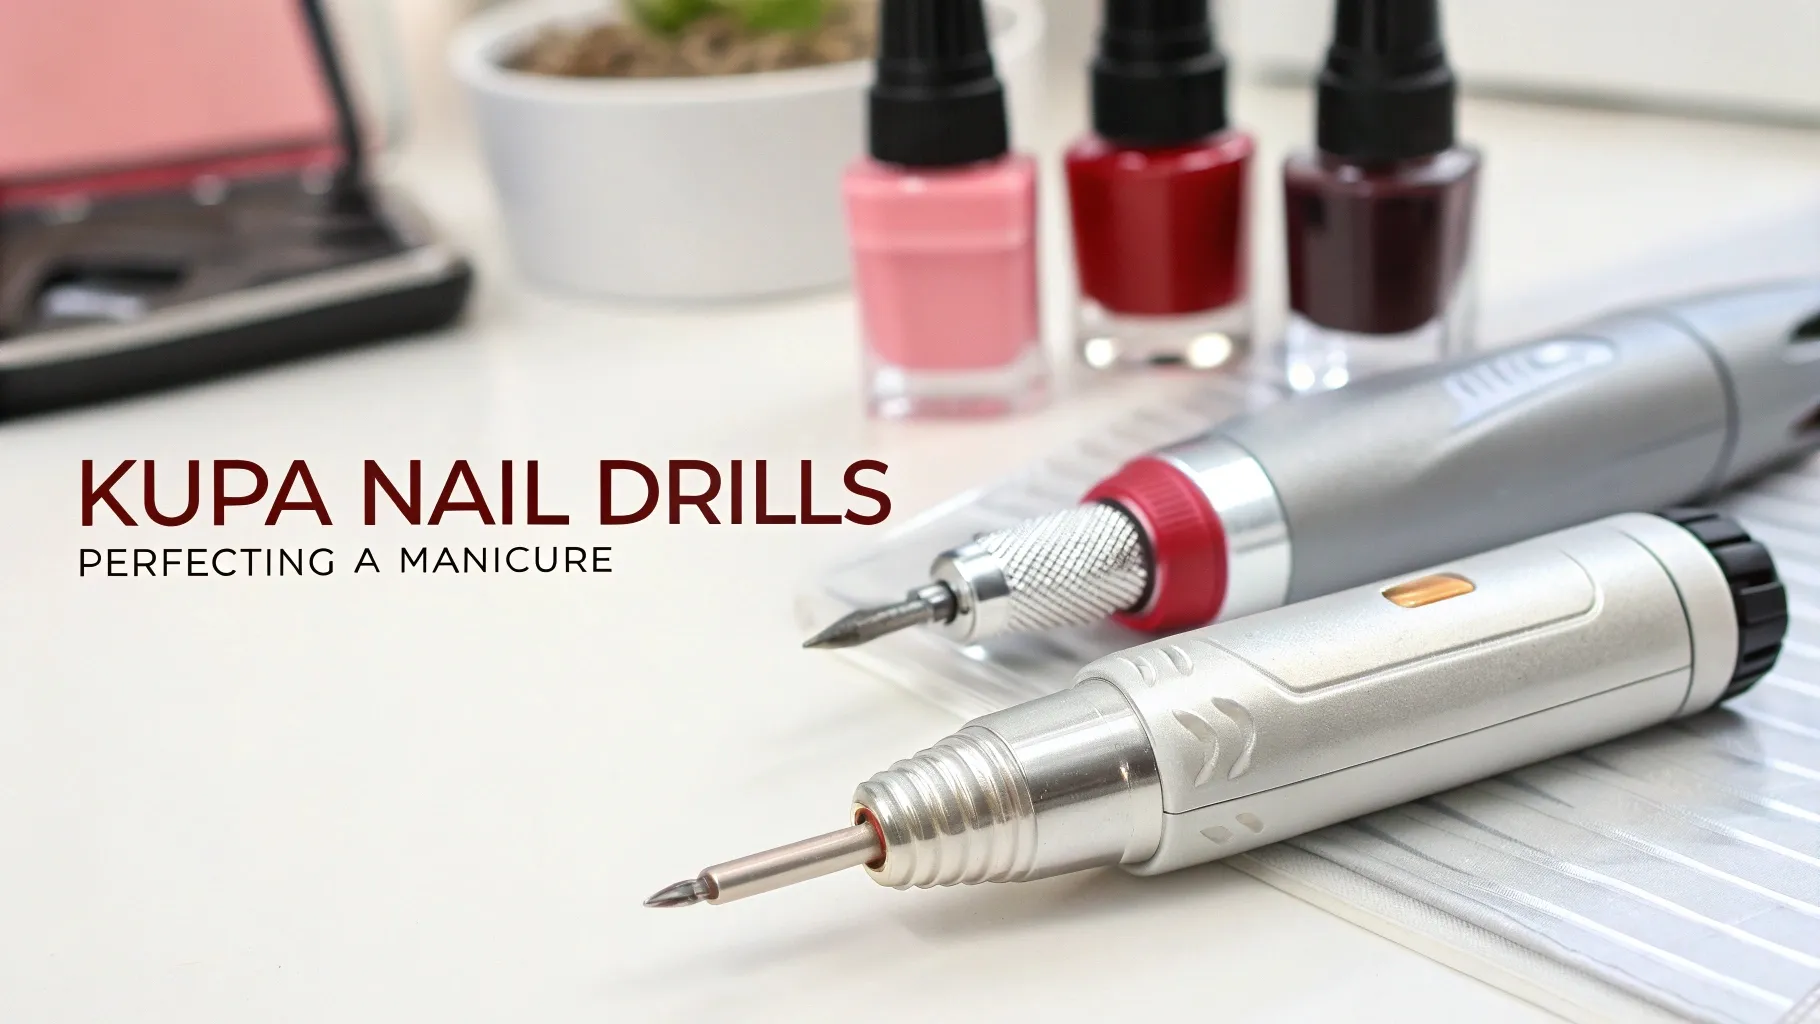
What Is a kupa nail drill?
A kupa nail drill is a small, hand-held electric device used for shaping, smoothing, and polishing nails. Unlike manual methods, it offers far greater control and precision, allowing for intricate designs and flawless finishes. It’s become a staple in both professional salons and home nail studios because of its versatility and speed. Many models offer adjustable speeds and a variety of bits for different tasks, from removing acrylic to creating stunning nail art. The increased efficiency translates to less time spent on each manicure, resulting in more appointments or freeing up your personal time. The use of a kupa nail drill also significantly reduces the risk of uneven filing or damage to the natural nail.
Beginner’s Guide to the kupa nail drill
For beginners, the idea of using a kupa nail drill might seem daunting. However, with a little practice and the right guidance, it becomes second nature. The key is starting slow, using light pressure, and understanding the different bit types. Beginners often underestimate the importance of proper nail prep, which we will cover in detail below. Remember to always start with the lowest speed setting and gradually increase it as you gain confidence. Don’t be afraid to experiment with different bits to find what works best for you. Many affordable and reliable entry-level kupa nail drills are readily available online.
Nail Prep Checklist
Before you even turn on your kupa nail drill, proper nail preparation is crucial. This ensures a smooth, even surface and prevents damage to your natural nails.
- 💅 Cleanse your nails thoroughly: Remove any old polish, dirt, or oils.
- 💦 Hydrate your cuticles: Use cuticle oil to soften and protect them.
- 🧽 Gently push back cuticles: Avoid cutting cuticles as this can lead to infection.
- ✨ File your nails to your desired shape: Use a fine-grit file to avoid any jagged edges.
- 💨 Dust off: Use a nail brush to remove any dust or debris.
How to Use a kupa nail drill – Step-by-Step
Step 1: Choose the Right Bit
Select the appropriate drill bit for the task at hand. Different bits are designed for different purposes: some for shaping, others for buffing, and still others for removing acrylic or gel.
Step 2: Start Slow and Gentle
Always begin with the lowest speed setting. Gradually increase the speed as you become more comfortable. Apply light pressure—overly aggressive pressure can damage your nails.
Step 3: Practice Makes Perfect
Don’t expect to become an expert overnight. Practice on a spare set of nails or a nail tip before using the kupa nail drill on your actual nails. Focus on smooth, controlled movements.
Step 4: Maintain Proper Technique
Hold the kupa nail drill at a slight angle to avoid aggressive filing. Avoid prolonged contact with the same area to prevent overheating or damage.
Step 5: Finish with a Buff
Once you’ve achieved your desired shape, use a fine-grit bit or buffer to smooth out any residual imperfections and create a polished finish.
Best Practices & Expert Tips
- Invest in a quality kupa nail drill: A well-made drill will last longer and offer better control.
- Regularly clean and sanitize your drill bits: This helps maintain hygiene and prolong their lifespan.
- Always use proper safety precautions: Wear safety glasses to protect your eyes from flying debris.
- Take breaks: Avoid using the kupa nail drill for extended periods to prevent hand fatigue.
List of Essential professional nail drill, manicure drill, nail care tools
Along with your kupa nail drill, you’ll want to ensure you have these essential tools:
- Various drill bits (for shaping, buffing, polishing)
- Nail files (coarse and fine grit)
- Cuticle pusher
- Cuticle oil
- Nail cleaner
- Nail dust brush
FAQs About kupa nail drills
Q: Are kupa nail drills safe to use at home?
A: Yes, but always proceed with caution. Start slowly, use light pressure, and wear safety glasses.
Q: How do I clean my kupa nail drill bits?
A: Wipe them down with a disinfectant wipe after each use. Regularly sterilize them according to the manufacturer’s instructions.
Q: What type of kupa nail drill is best for beginners?
A: Look for a drill with adjustable speed settings and a variety of bits included.
Q: How much does a kupa nail drill cost?
A: Prices vary depending on the brand and features. You can find affordable options to high-end professional models.
Conclusion
Investing in a kupa nail drill is an investment in perfect manicures. With practice and the right techniques, you can achieve salon-quality results from the comfort of your home or significantly enhance your professional nail services. Remember to prioritize safety and proper nail preparation for optimal results. Now go forth and create stunning nail art! Share your experiences in the comments below! What are your favorite nail drill techniques?